

Introducing Multi-Scan Project Support for Stationary LiDAR Data
TerraScan 026.016 introduced a completely new way to utilize project capabilities with stationary LiDAR data. You can now divide your project into blocks by individual scans. Previously TerraScan supported dividing your project data to geographical blocks only.
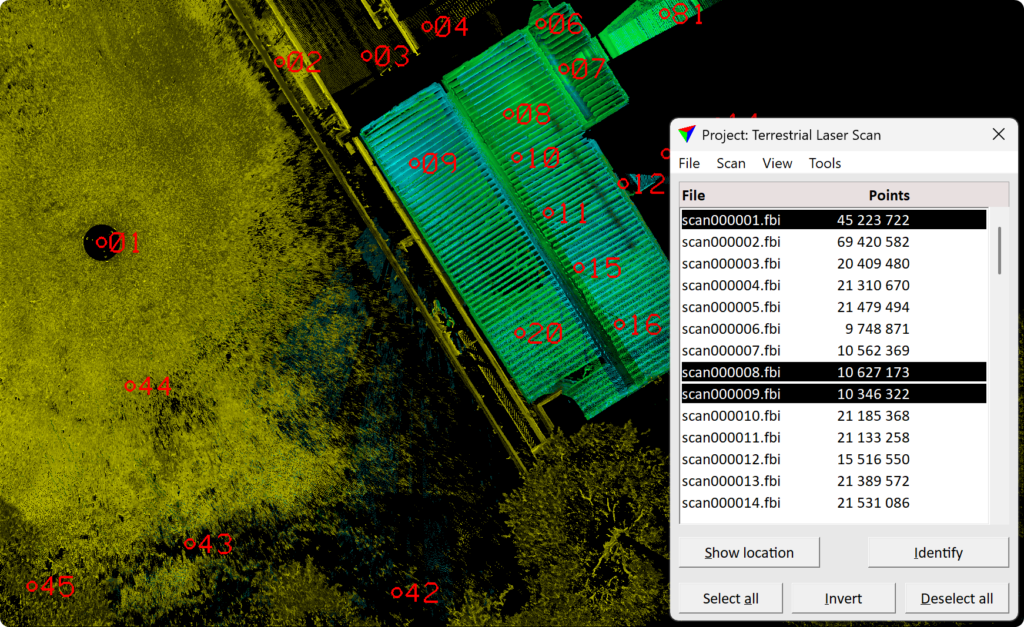
Managing stationary LiDAR data at project scale was admittedly difficult before. You had to define geographical block boundaries for overlapping scans. Then points from individual scans were divided into multiple blocks. It was difficult to run macros for processing scans because you did not have scans anymore. You had (by design) geographical blocks of point cloud data. The blocks included points from multiple scans and executing macro steps to individual scans one at a time was practically impossible.
Advantages of using individual scan blocks with stationary LiDAR data
- Inspecting scans became easier. You can open a single scan or multiple scans at once from the project window. If you are using geographical blocks you can only open one block at once. Then you would need to filter points by scan and hope that your block boundary covers the full scan extent.
- Running macro on project blocks processes individual scans instead of a mixture of scans located inside geographical bounds. Now you can optimize your processing workflows for individual scans instead of geographical tiles.
- Line-of-sight geometry is constant inside project blocks.
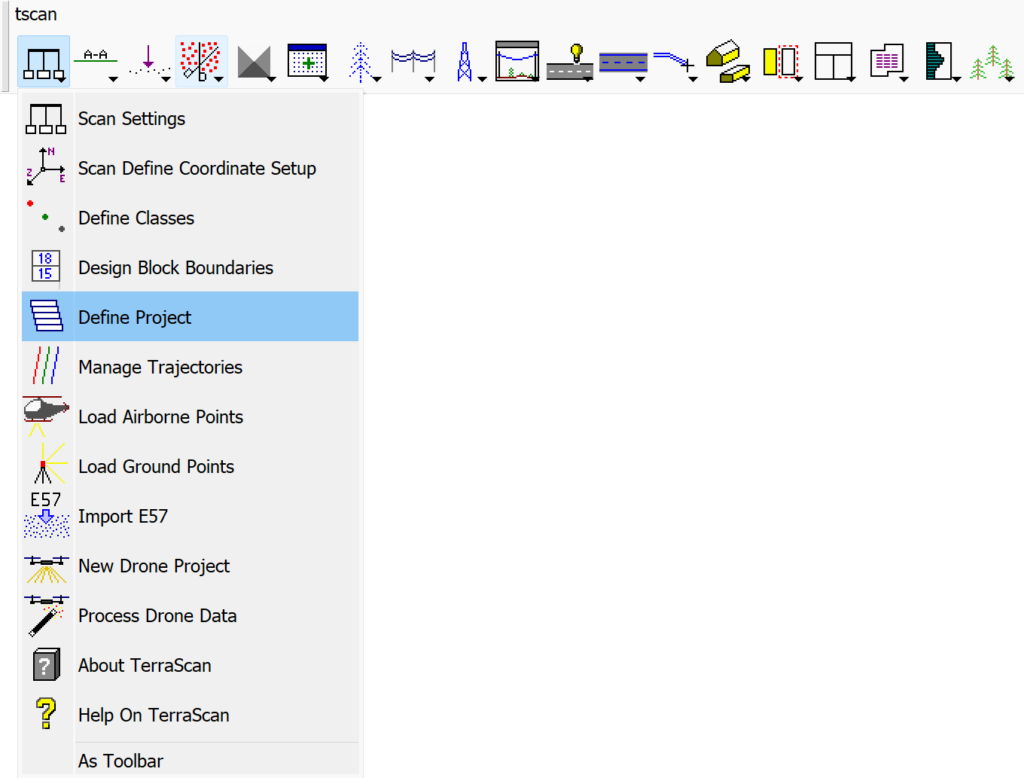
How to create a terrestrial laser scanning project in TerraScan
Start by opening a Project window. The Project window can be opened with the Define Project tool.
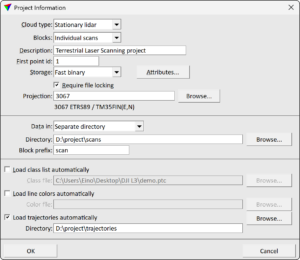
Before Project window opens you need to define the project settings. Select Stationary lidar as the Cloud type. Then select Individual scans as Blocks. Then you need to decide what is the point cloud format in which points are saved. You can always export your processed point cloud in any of the supported point cloud formats. This selection is mainly for the processing part of the workflow. Ideally you want to save the points in a format which is fast to read and to write in. Terrasolid Fast Binary format (fbi) is the recommended option here. Fast binary is, as its name suggests, fast to read and write. Optionally you could use more common formats like las or laz. Note that laz is a slow format compared to las and fbi.
Then specify your desired project folder structure. I personally recommend a project folder which has child folders for project blocks, trajectories, tielines, macros etc. In the screenshot below I have defined a sub folder named scans to my project folder. The project blocks will be saved there. Fundamentally TerraScan converts your scans to the storage point cloud format as you import scans to your project.
After project information is set Project window opens. Now you should save your project definition as a project file. The project file is a human readable text file. It has .prj file extension. TerraScan reads project information from the project file when you open your project. Project is saved from Project window > File > Save project As. After you have saved your project as a file, saving is possible.
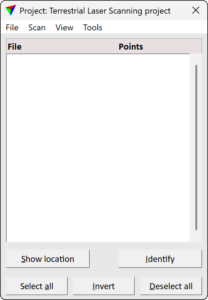
Usually when working with geographical blocks you would define block boundaries now with tools such as Design Block Boundaries. However, with scan blocks this is not required. Block definitions are automatically created when you import scans to your project. Start importing points to your project from Project window > File > Import points into project. Select all point cloud files you want to import. It is recommended to import scans in E57 format because TerraScan can read block definitions (scanner positions) directly from the E57 point cloud files. After selecting the files the import process starts. When the import process finishes you have successfully created a Terrestrial Laser Scanning project in TerraScan.
Opening scans
Now you can open scans one by one or multiple at once. There are two ways to open scans. The first way is to open scans with Open scan command from TerraScan Main Window > File > Open scan. You can decide to open scans for Modification or Viewing only. You can also decide if you want to fit one of your CAD views to the bounds of the opened scan.
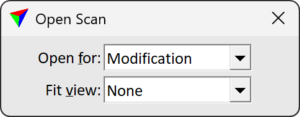
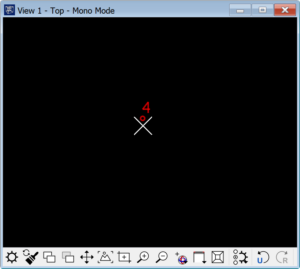
After setting the opening options hover over a top down view. You should now see the closest scan position highlighted with active symbology. Clicking the view opens the highlighted scan (and closes all other loaded points).
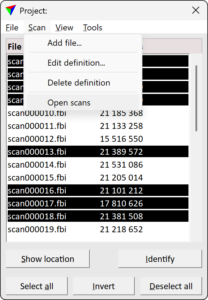
The other way for opening scans is done from the Project window. Select scan(s) from the Project window. You can select multiple scans by holding down ctrl or shift while selecting scans. Selected scans have a black background color. Then open the selected scans from Project window > File > Open scans. The scans open immediately without a possibility to define any opening options.
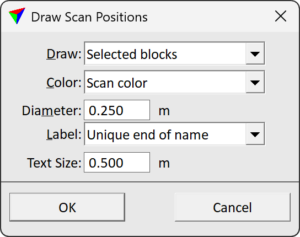
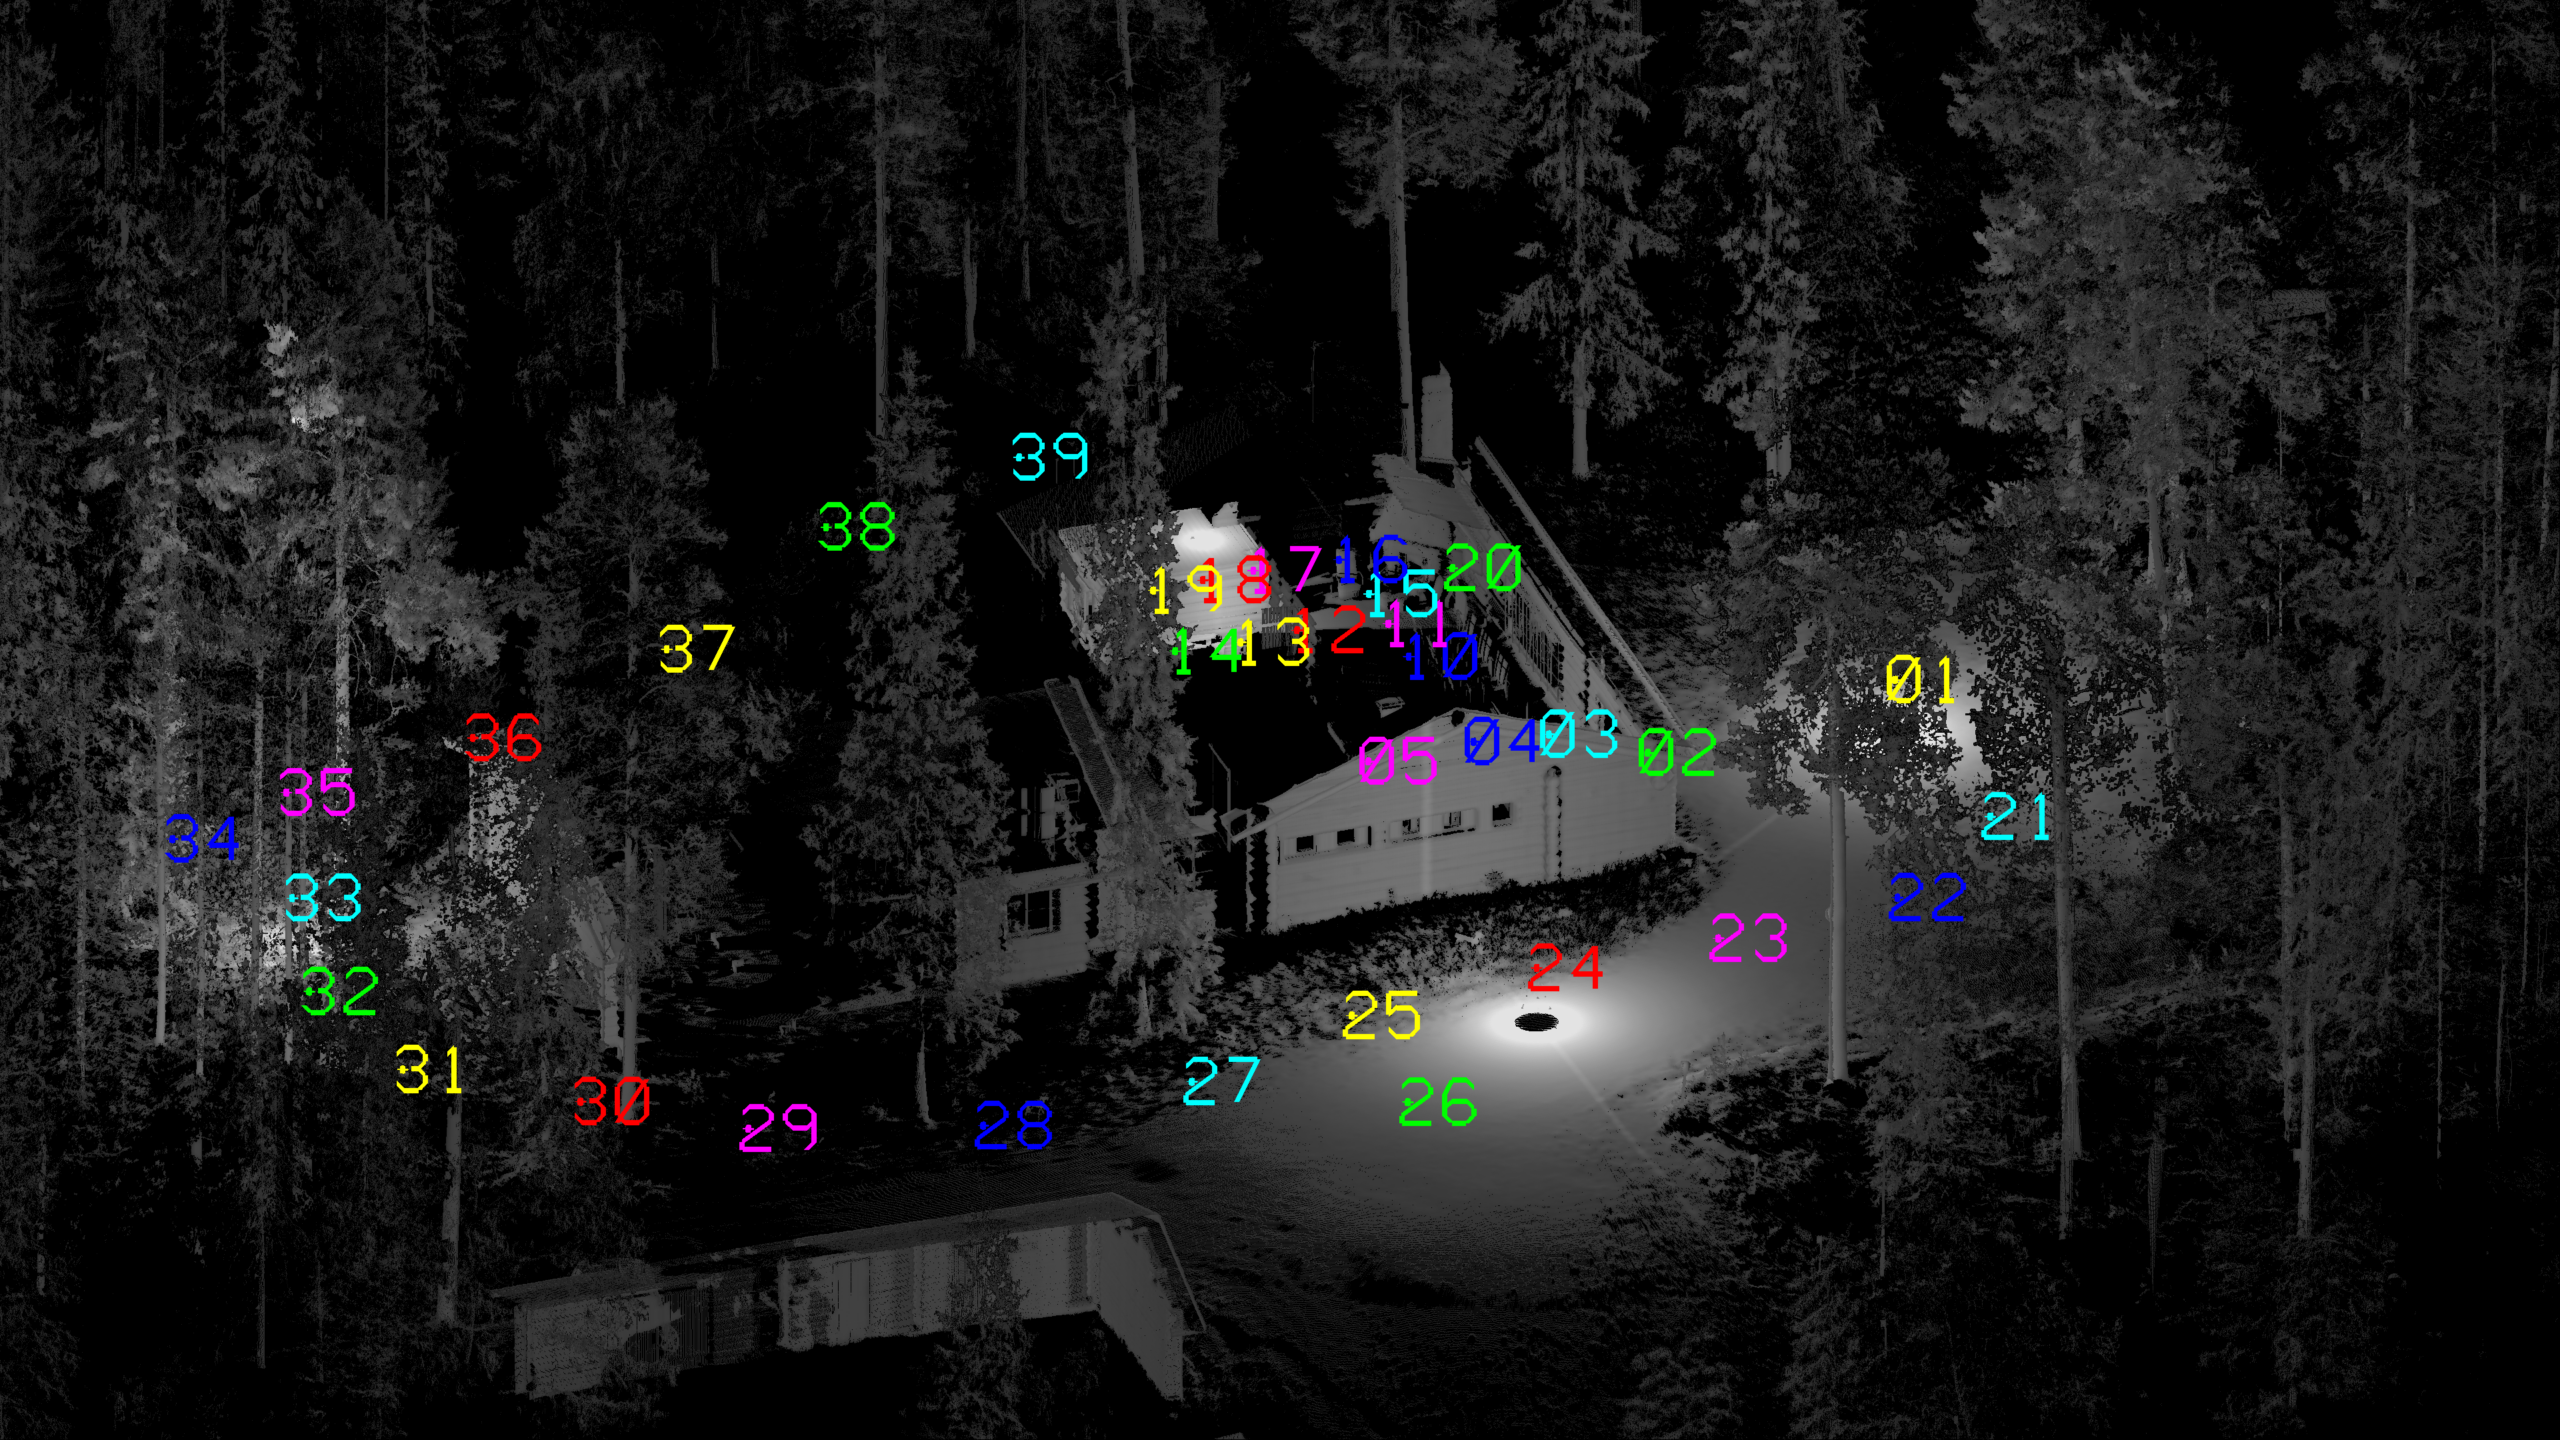
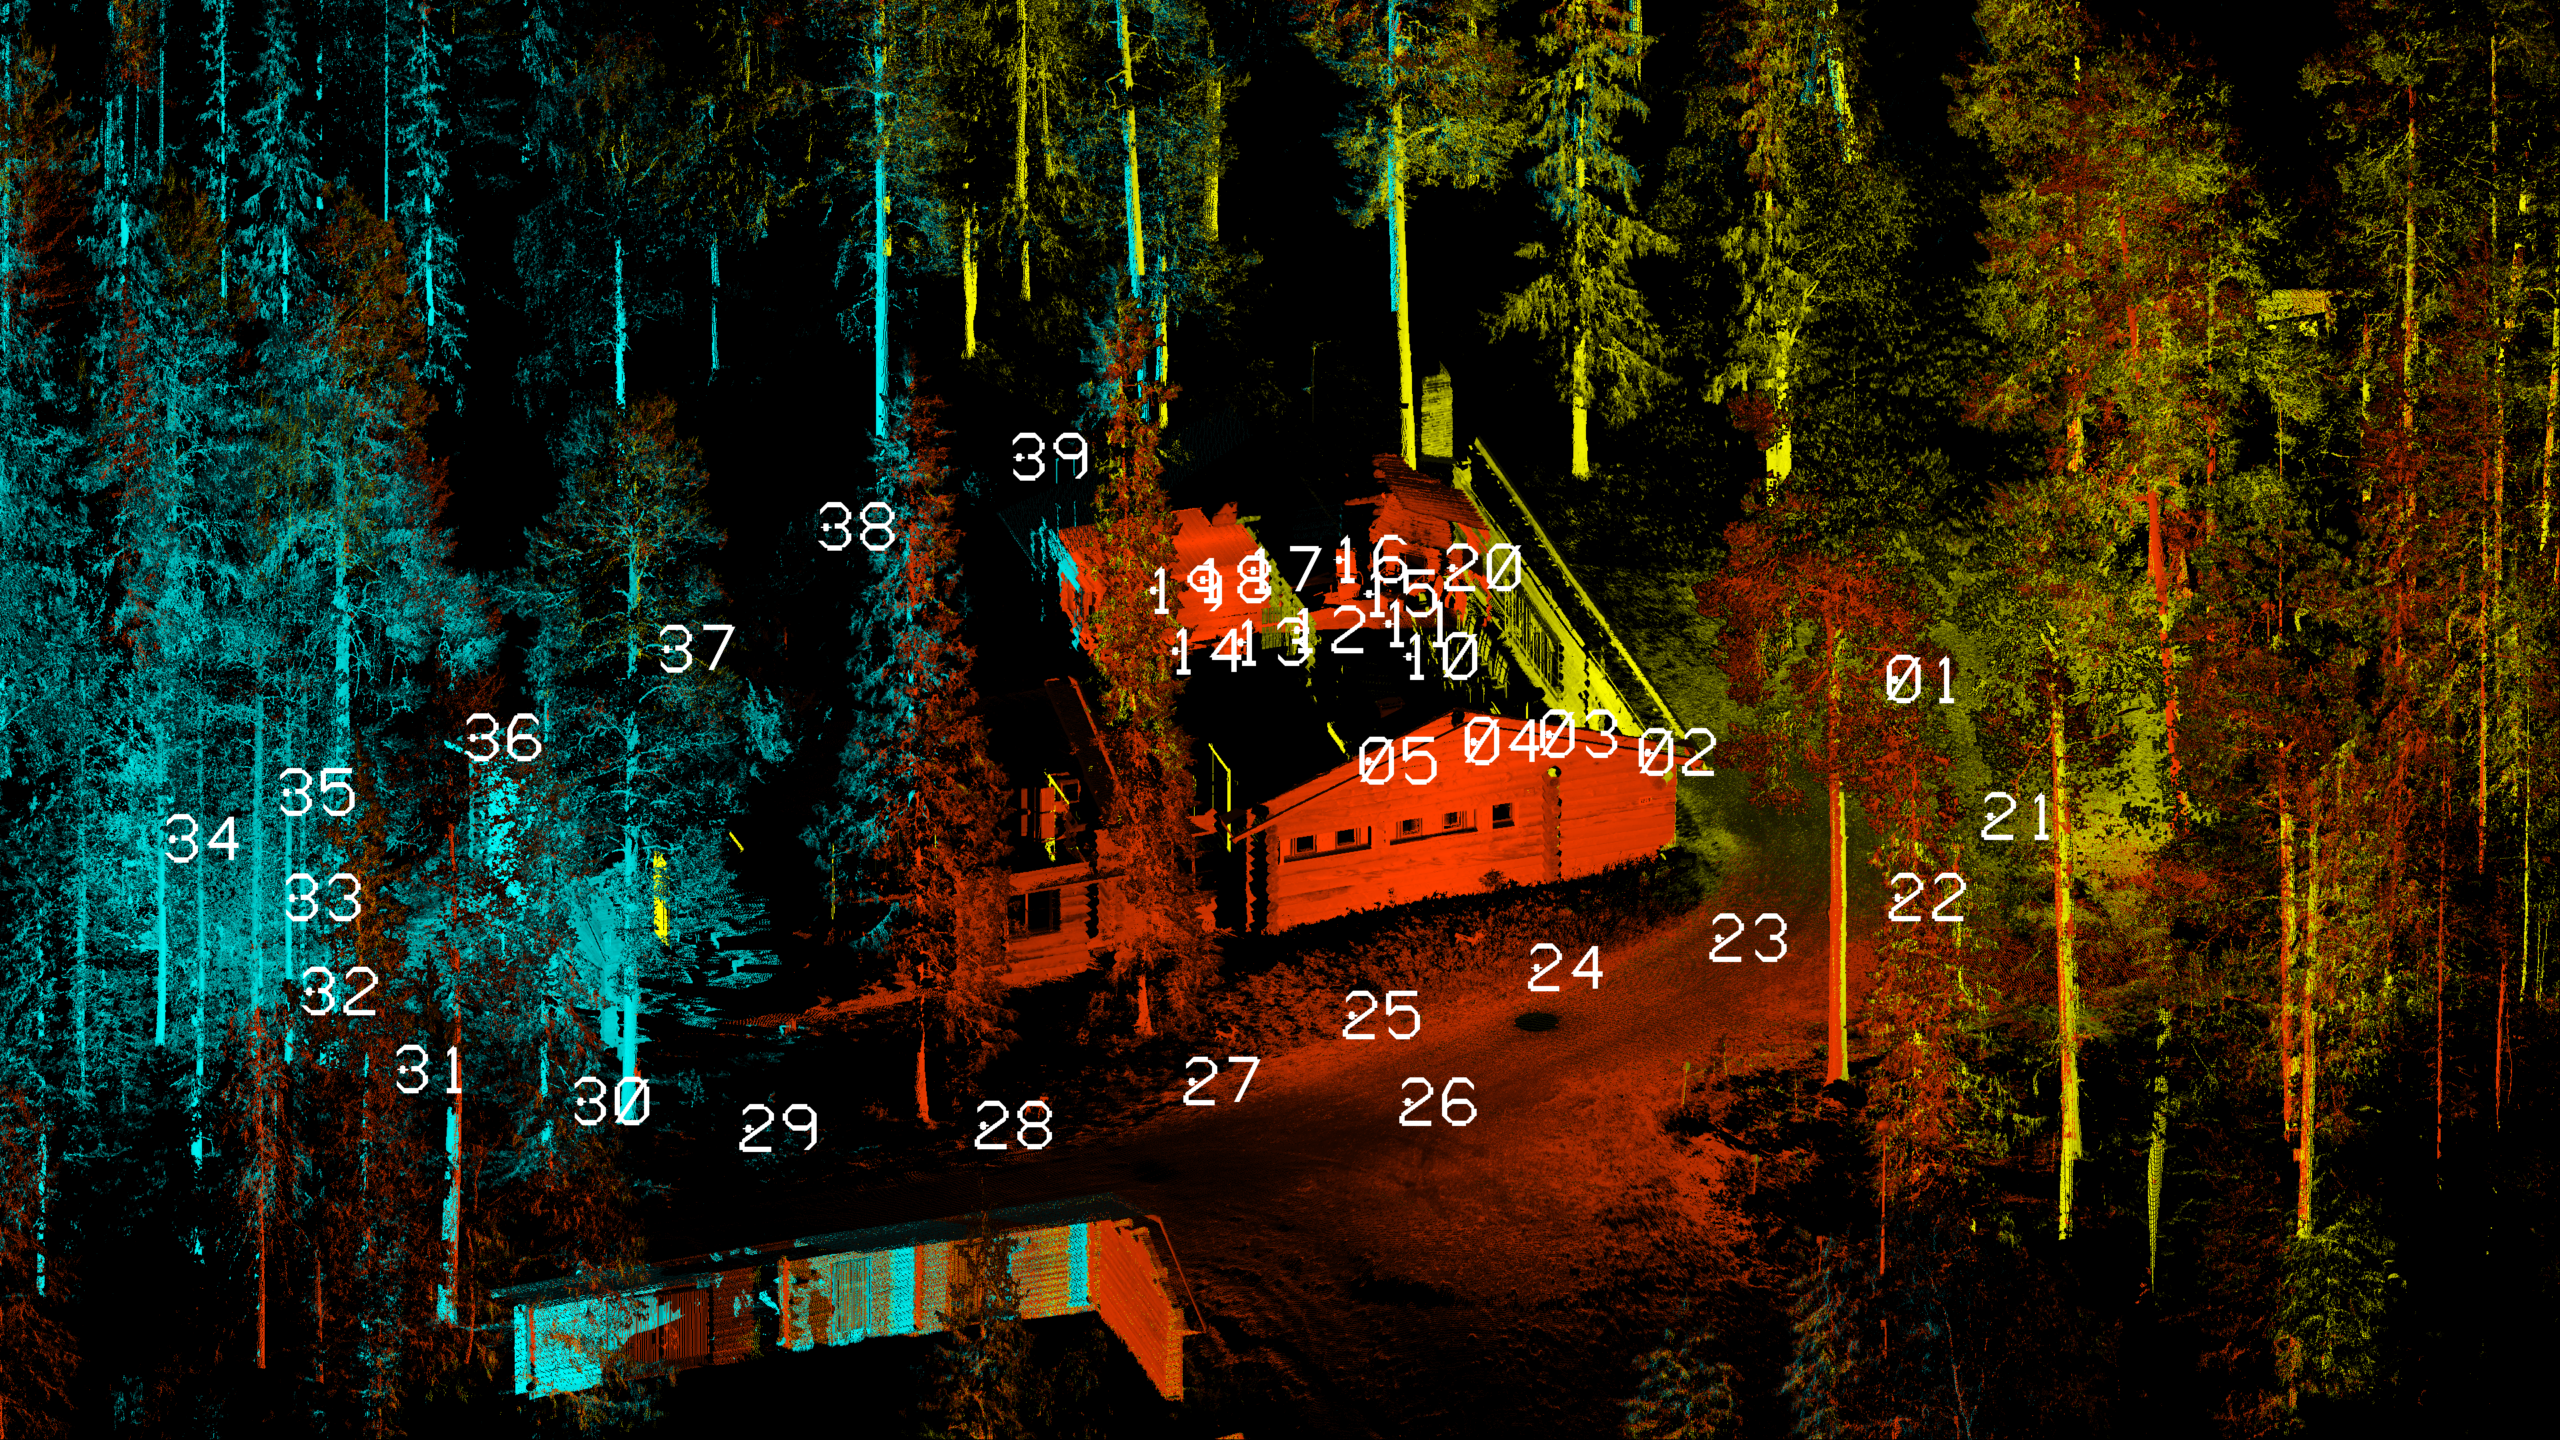
We recommend to Draw positions to help managing your scans. This command creates circle and number cad elements for each scan position. Open the command from Project window > Tools > Draw positions. The elements can be colored using Active color or Scan color. Also you can draw all scans or only the scans which are selected from Project window.
Now you are ready to start processing your Terrestrial Laser Scanning data in project scale. Remember to read in scanner positions if you want to execute processing steps which require trajectories.
Written by:
Eino Waldén
Sales Support Engineer at Terrasolid Ltd.