

TerraPhoto User Guide
Creation of frames
The Create Flythru Movie dialog offers the possibility to safe frames as image files for later movie creation. Saving frames has the advantage that frames from different creation processes can be combined in one movie. Additionally, frames can be edited by other software before they are included in a movie. For example, text can be added to one or more frames using image processing software.
General settings for the frame creation regarding clipping, quality and speed are defined in the Create Flythru Movie dialog and explained in the Create Flythru Movie tool description.
Before starting the frame creation, check the following points:
•The CAD file view for creating rendered views must be open and set to a suitable size. The view size determines the size of the frames/movie. All frames of a movie must have the same size. Use Set View Size to specify the resolution.
•All CAD file levels containing vector data must be switched on for the respective view in order to display the data in the frames/movie.
•If raster images are used for the ground model, the setting R (= Render) in the Manage Raster References window must be switched on for the reference images. Also, a surface model in TerraModeler has to be available and displayed as raster triangles. For draping the raster images on objects, such as building roofs, check the level setting in Define Rendering Settings tool.
•If laser points are included, display settings for the respective view have to be set in the TerraScan Display Mode dialog, and classes have to be switched on.
The suitability of settings and display options can be tested using the preview options offered in the Create Flythru Movie dialog.
To save frames:
1. Select Save frames command from the File pulldown menu in the Create Flythru Movie dialog.
This opens the Save Movie Frames dialog:
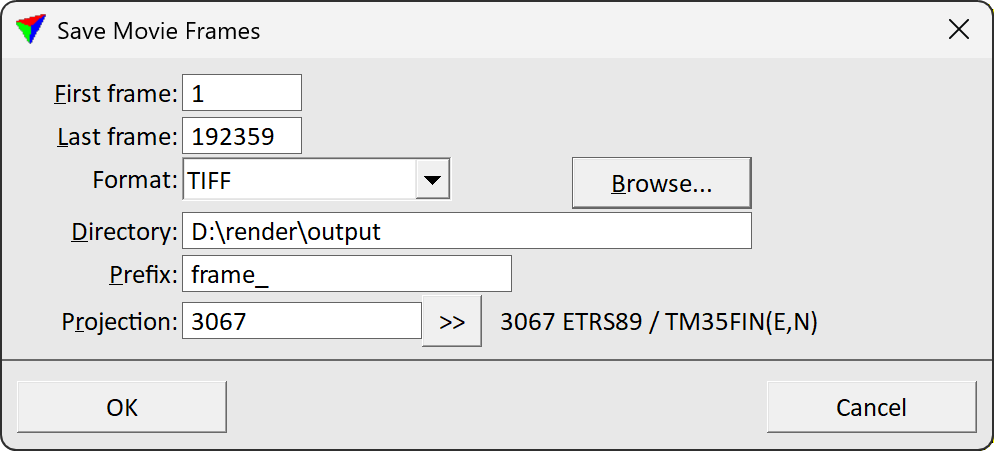
2. Define settings and click OK.
This starts saving the frames as image files. The frames are previewed in the CAD platform view that is defined for showing rendered views. The information bar at the bottom of the CAD platform application window shows the number of processed frames out of the number of all frames. Depending on the number of frames and the amount of elements that have to be rendered, the process may take a while.
SETTING |
EFFECT |
|---|---|
First frame |
First frame number that is saved. |
Last frame |
Last frame number that is saved. |
Format |
Raster file format to produce: BMP, JPEG, or TIFF. |
Directory |
Directory on a hard disk where frames are saved. |
Prefix |
Text that is added in the beginning of the frame file names. The frame number is automatically added to the file name. |
Projection |
Only available when TIFF is selected as Format. Projection system that is used to write the GeoTag information for a frame image. Projection systems are defined by their EPSG code. See more information about projection system definition in Coordinate transformations / Transformations. The list contains also projection systems that are active in Coordinate transformations / User projection systems of TerraPhoto Settings. |