

TerraScan User Guide
Assign Wire Attributes
Not Lite
 Assign Wire Attributes tool lets you define attributes for wire strings. You can also change the symbology of the line elements. Changes can be applied for the wire along the whole tower string, within a certain span range, or for a single wire string from one tower to another. The attributes can be included in reports created with the Output Catenary tool.
To assign attributes to catenary strings:
1. Activate a tower string element using Activate Powerline tool.
2. Select the Assign Wire Attributes tool.
This opens the Assign Wire Attributes dialog:
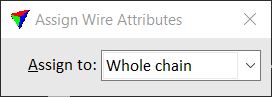
3. Select, for what to assign attributes: Whole chain, Span range, or Single span.
4. If Assign to is set to Span range, select the start tower and the end tower of the span range with data clicks.
5. Select a wire string for which to assign attributes.
This highlights the selected wire string and opens another Assign Wire Attributes dialog:
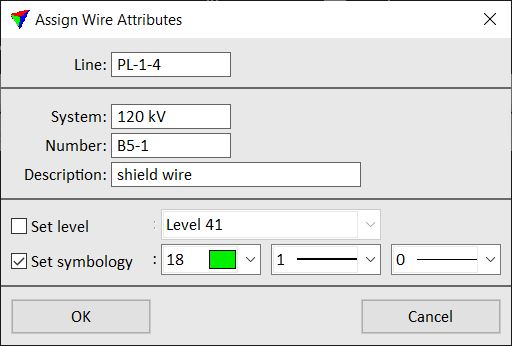
6. Define settings and click OK.
This assigns the given attributes to the wire. You can continue with steps 3 or 5.
SETTING |
EFFECT |
|---|---|
Line |
Number of the powerline. This is filled automatically from the activated tower string. |
System |
Text field for entering a free system identifier. |
Number |
Text field for entering a free wire number. |
Description |
Text field for entering a free description for the wire. |
Set level |
If on, the selected wire is moved to the given CAD file level. |
Set symbology |
If on, the given Color, Weight and line Style is applied for the selected wire. The selection lists include the standard colors, line weights and styles of the CAD file. |