

TerraScan User Guide
Road paint markings / Paint markings
Paint markings category in the Road paint markings folder shows a list of Paint marking groups and for each group, the list of templates of Paint markings.
A drawing of the paint marking is used to define the geometry of a paint marking template. Technical drawings of paint markings may be provided, for example, by the road administration.
You can Add, Edit, and Delete paint marking templates by using the corresponding buttons in the Settings dialog.
To add a new paint marking:
1. Draw the paint marking into a CAD file and select it.
2. Open the Road paint markings / Paint markings category.
3. (Optional) Click Add next to the Paint marking groups field in the Settings dialog.
This opens the Paint Marking Group dialog:
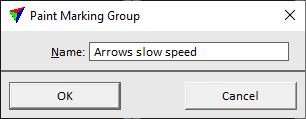
4. Type a name for the new group and click OK.
OR
3. Select an existing Paint marking group from the list.
5. Click Add next to the Paint markings field in the Settings dialog.
6. Define the origin of the paint marking with a data click. This may be supported by snapping to a vertex or boundary line of the drawing.
The data click opens the Paint Marking dialog:
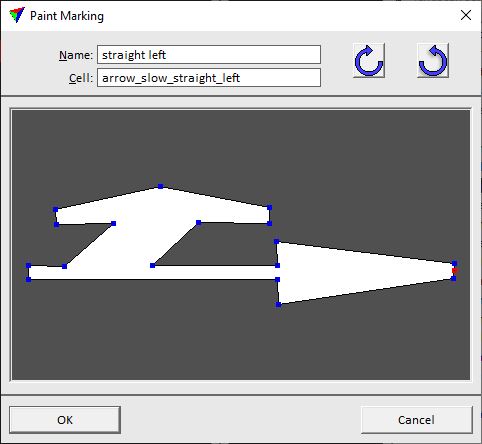
The paint marking drawing is shown in the dialog, the red dot indicates the origin point.
7. Type a Name and a Cell name for the paint marking.
8. Click OK in the Paint Marking dialog.
9. Close the Settings dialog in order to save the paint marking settings for TerraScan.
SETTING |
EFFECT |
|---|---|
Name |
Free definition of a name for the paint marking. |
Cell |
Free definition of a cell name for the paint marking. The cell name may be used to identify all paint markings of the same type in a CAD file. |
|
Rotate the paint marking template clockwise or counterclockwise in 90 degree steps. |

Paint marking templates are stored in a configuration file PAINT_MARKINGS.INF in the TerraScan installation folder. You can copy this file to other computers in order to make paint marking templates available on them.