

TerraScan User Guide
3D fence
Not Spatix
3D fence command lets you classify points inside a 3D fence from one class into another class. Only points that are displayed on screen are effected by the classification. The 3D fence is defined in two steps. Usually, a fence or selected polygon is drawn in a top view first. Then the tool waits for the selection of a second view, which is automatically turned into a front view covering the same area as defined by the fence. In this front view a second fence can be drawn to define the final 3D fence content.
To classify points inside a 3D fence:
1. Draw a fence or select a polygon around points to classify in a top view.
2. Select 3D fence command from the Classify pulldown menu.
3. Select a second view by placing a data click inside the view.
This turns the second view into a section view, displays the points that are located in the fence, and opens the Classify Fence 3D dialog:
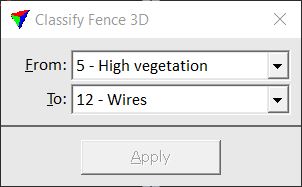
4. Select classes in the From and To fields.
5. Draw a fence in the section view. The fence tool is already started by the command.
6. When at least 3 vertices for the fence are defined by data clicks, the Apply button in the Classify Fence 3D dialog becomes active. Click Apply to finish the fence.
This classifies the points that are displayed in the top view and located inside the 3D fence.